Book Appointment Now
Dental Equipment Installation by Manufacturer-Trained Contractors
Dental Equipment Installation by Manufacturer-Trained Contractors. Expert insights from GCMM Dental Construction. Call (347) 961-7357 for your project.
Dental Equipment Installation by Manufacturer-Trained Contractors
When you’re opening a new dental practice or upgrading an existing one, the quality of your equipment installation can make or break your investment. A brand-new A-dec 500 chair or a Planmeca ProOne unit represents tens of thousands of dollars in capital expenditure — and every one of those dollars is at risk when installation is handed off to a general contractor who has never touched dental equipment before. At GCMM Dental Construction, we are manufacturer-trained dental equipment installation contractors serving dental practices throughout NYC, Westchester, Long Island, New Jersey, and Connecticut. We’ve completed installations across all five boroughs, from ground-up buildouts in the Bronx to full operatory renovations in Nassau County, and we bring the same technical rigor to every project regardless of scope.
This page breaks down exactly what professional dental equipment installation involves, why manufacturer certification matters for your warranty, and what can go wrong when the wrong team handles your operatory setup. If you’ve already started the conversation with your equipment dealer, you need to read this before your delivery date is scheduled.
Why Manufacturer Training Separates Professional Installers from General Contractors
Not all contractors who advertise dental construction services are trained to install dental equipment. There’s a significant difference between a contractor who can frame an operatory, run conduit, and install cabinetry — and one who is certified by A-dec, Midmark, or Planmeca to perform a full equipment installation. We hold all three certifications, and the training behind each one is more technical than most people expect.
A-dec’s certification program, for example, covers not just the mechanical assembly of chair systems but the specific torque specifications for mounting arm assemblies, the correct airline pressure ranges for delivery systems, and the proprietary chair-base leveling procedures that prevent premature wear on the lift mechanism. Midmark’s training goes deep into the electrical load requirements for their integrated delivery units and how to properly configure cuspidor drain connections to comply with amalgam separator mandates. Planmeca’s certification includes software configuration for their digital integration platforms — something no general contractor can stumble through without the manufacturer’s technical documentation.
As dental office contractors certified in equipment installation, our team has completed the formal training programs that these manufacturers require of their authorized service networks. This means when we install your operatory, we’re following the same procedures that the factory would follow — not improvising.
wp:image {“id”:1261}

/wp:image
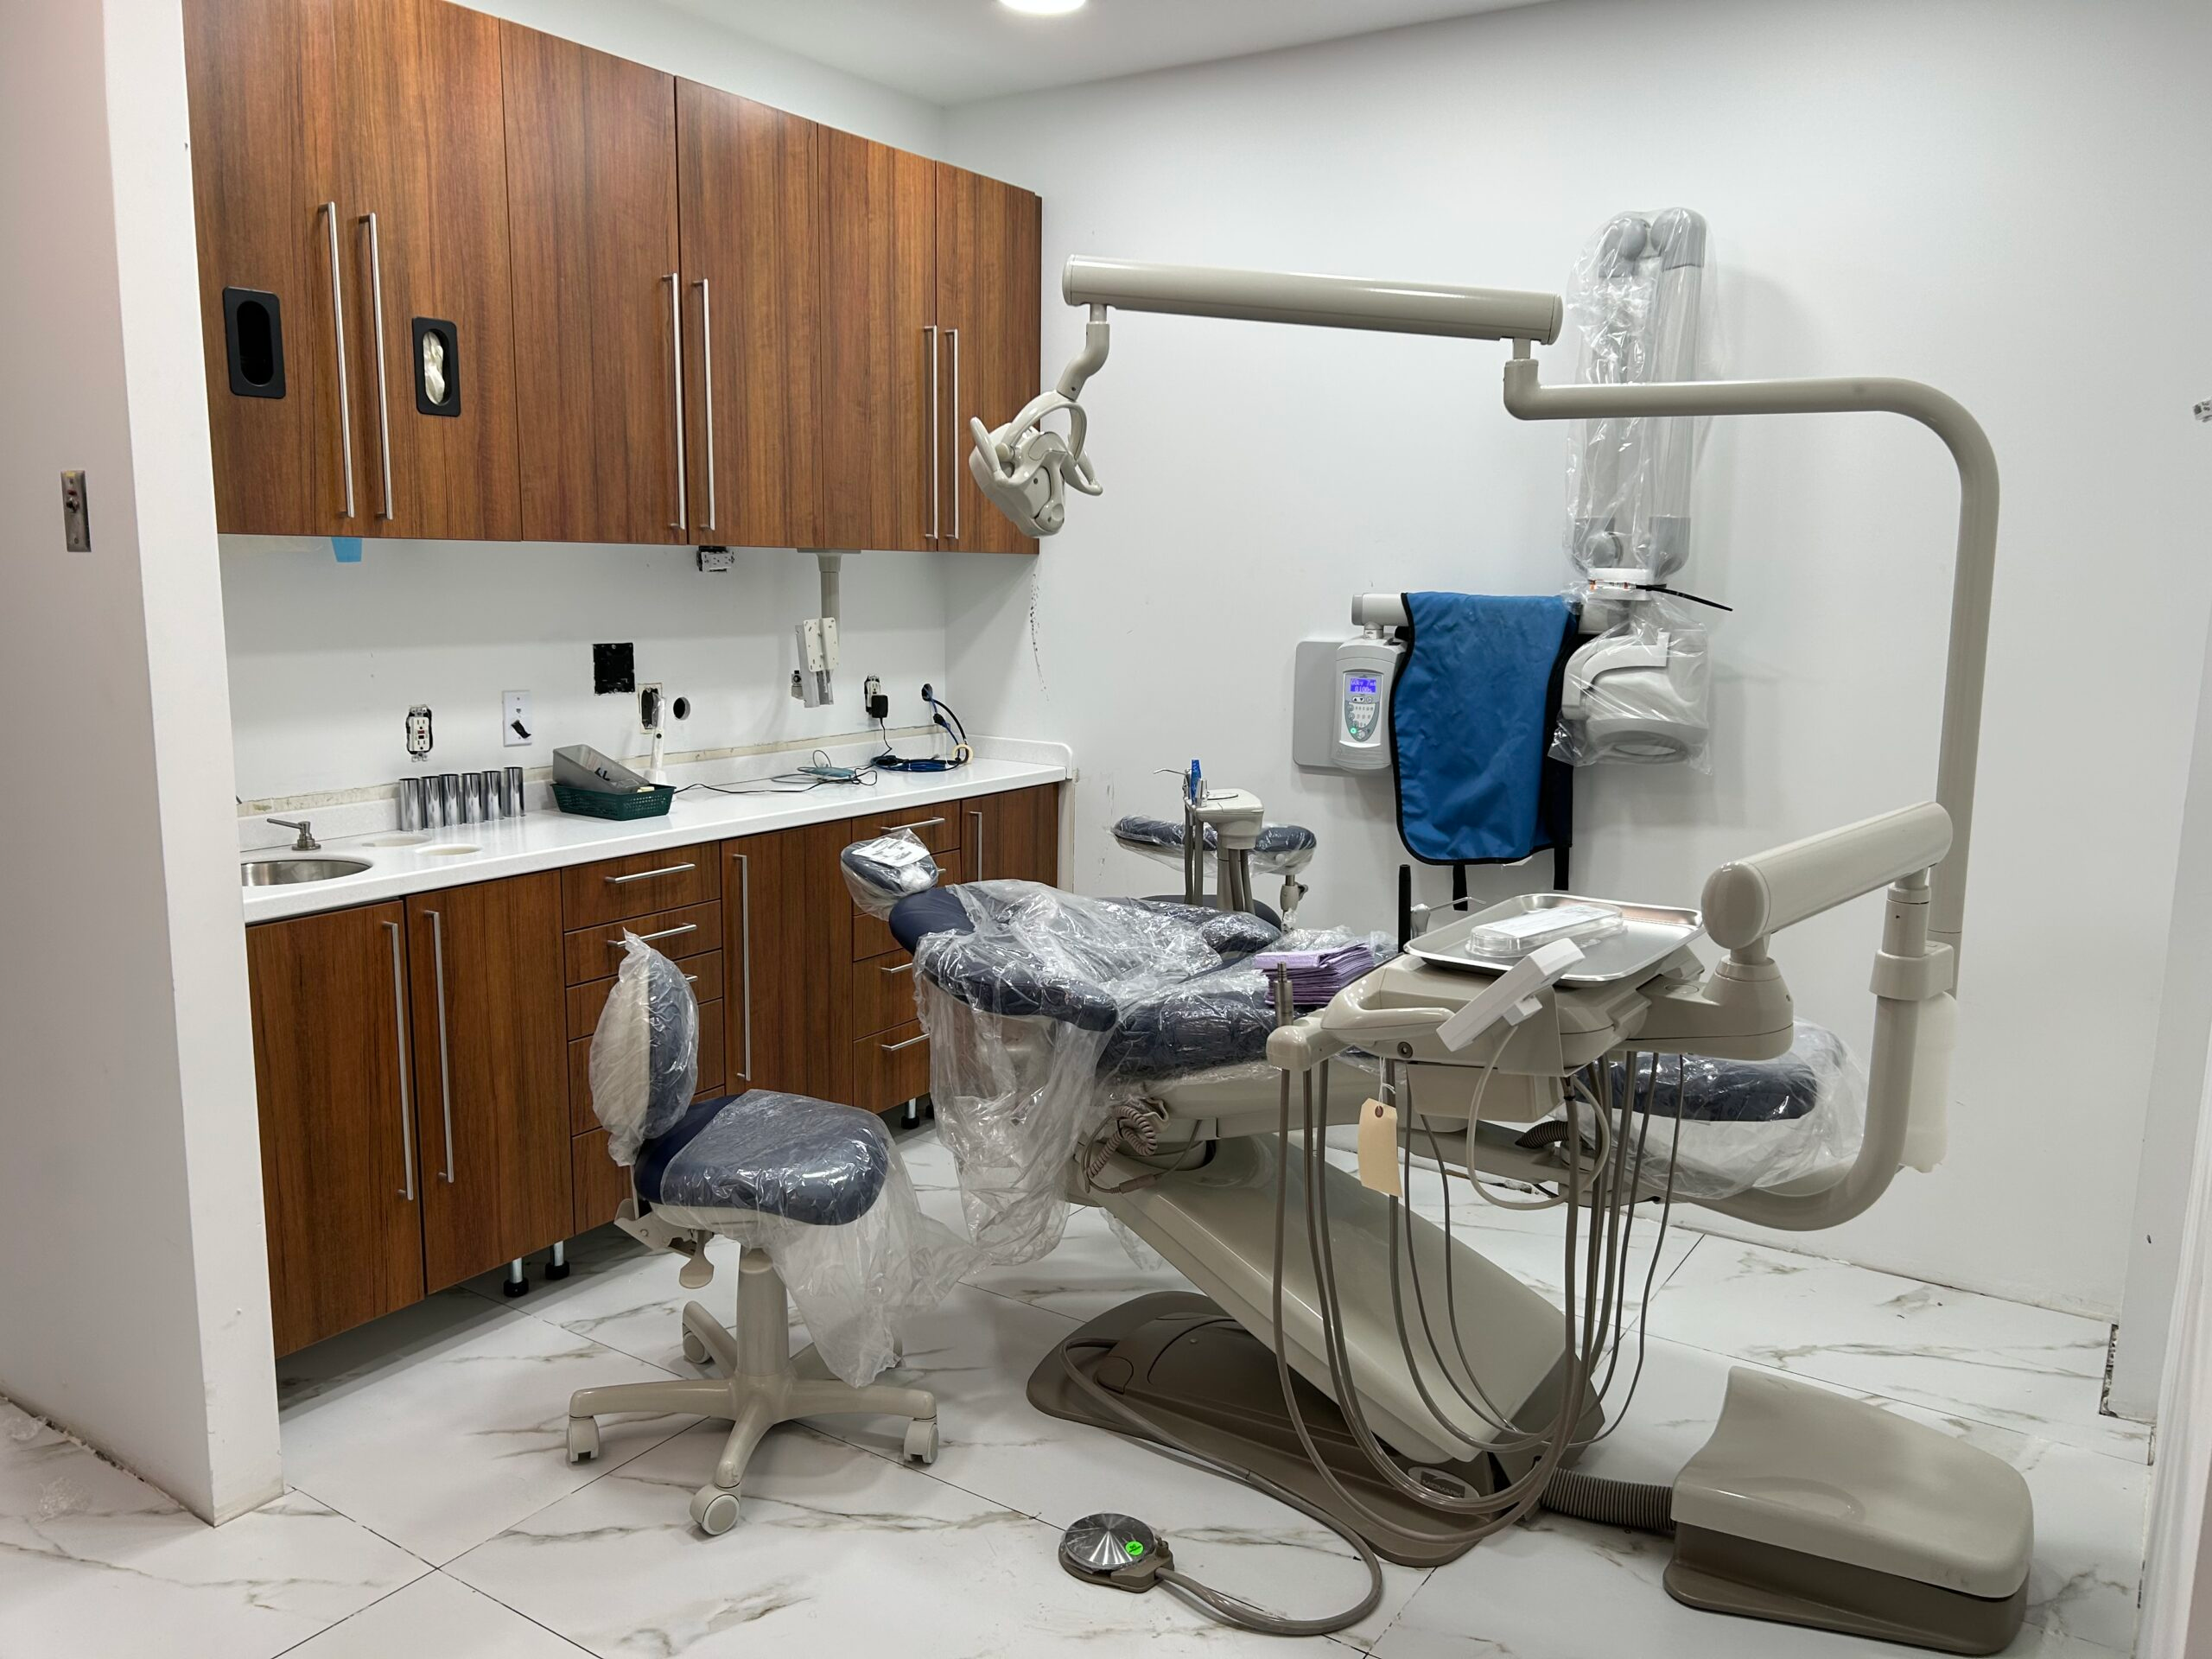
What the Dental Equipment Installation Process Actually Involves
Most practice owners underestimate how many interconnected systems are involved in a single operatory installation. It’s not a matter of uncrating a chair, plugging it in, and calling it done. Here’s what a complete installation actually looks like when our team is on site.
Utility Rough-In and Pre-Installation Coordination
Before any equipment arrives on site, the utility infrastructure has to be exactly right. Each operatory requires a specific combination of compressed air lines, vacuum lines, waterlines, electrical circuits, and — depending on the system — data conduit for digital integration. A-dec chairs, for instance, require a minimum of 80 PSI clean dry air at the unit; if your compressor output or your line sizing delivers anything less, you’ll have sluggish handpiece performance from day one. Midmark’s integrated units have specific electrical circuit requirements that differ from standard commercial wiring.
We coordinate directly with your mechanical and electrical subcontractors during the rough-in phase to verify that utility stub-outs are positioned correctly for your specific equipment model. A few inches in the wrong direction on a vacuum line stub-out can require tearing up flooring after the fact — something we’ve seen on projects we inherited from less experienced teams in Long Island and New Jersey. Getting this right during rough-in is far cheaper than fixing it after cabinets and flooring are in place.
Chair Delivery Coordination and Floor Mount Installation
Chair delivery coordination is often overlooked as a logistics challenge, but it’s genuinely complex in dense urban environments. In Manhattan or the Bronx, getting a 400-pound chair base and accompanying equipment boxes up a freight elevator, through a narrow corridor, and into an operatory without damaging finished surfaces requires advance planning. We work directly with your equipment dealer’s delivery team to confirm delivery windows, verify that freight access routes are protected, and ensure that mounting hardware is staged and ready before the truck arrives.
The floor mount installation itself is precision work. Chair bases must be anchored to the subfloor at manufacturer-specified points, and the floor penetrations for utility connections have to be sealed correctly to prevent moisture infiltration and comply with infection control requirements. For practices in high-rise buildings across NYC, we also have to account for floor load ratings and building management requirements for penetrations — something that varies building by building and borough by borough.
Unit Arm Assembly and Delivery System Configuration
The unit arm — the articulated arm that holds handpiece holders, syringe, and light — is one of the most mechanically complex parts of the installation. Proper assembly requires following the manufacturer’s torque specifications at every joint, setting the correct counterbalance tension for the arm’s range of motion, and routing the internal tubing and wiring through the arm without kinking or strain points that will cause premature failures.
Our team’s experience with dental equipment installation across A-dec, Midmark, and Planmeca systems means we’ve assembled hundreds of unit arms across every product generation these manufacturers currently sell. We know, for example, that A-dec’s 300 unit arm requires a specific break-in procedure before final tensioning, and that Planmeca’s delivery system tubing has a specific routing path through the chair body that’s not intuitive from the manual alone.
wp:image {“id”:1260}
/wp:image
Delivery System Testing and Commissioning
Once the physical installation is complete, the delivery system has to be tested and commissioned before any clinical use. This involves pressurizing the air and water circuits, checking for leaks at every fitting, verifying water flow rates to the cuspidor and syringe, testing vacuum draw at the high-volume and saliva ejector ports, and running the chair through its full range of programmed positions to verify that all limit switches are functioning correctly.
For practices installing Planmeca systems with digital integration, commissioning also includes network configuration, software activation, and integration testing with your practice management system. This is a step that absolutely requires manufacturer-specific training — improperly configured Planmeca software can result in imaging data that doesn’t route correctly to patient records, which is both a clinical and a compliance problem.
We document every commissioning step with written records that you receive at project close-out. This documentation matters because it establishes proof of proper installation for warranty purposes — something we’ll address in detail below.
Overhead Light Mounting and Operatory Lighting Integration
Dental operatory lights — whether a chair-mounted A-dec LED light or a ceiling-mounted Midmark system — require precise positioning relative to the chair’s operational range of motion. Mount a ceiling light two inches too far back and your clinicians will be fighting the light’s range on every patient. Our installations account for the specific travel arc of each light model and the ceiling height of each operatory to position mounting points correctly before ceiling finishes are complete.
Warranty Implications of Improper Installation
This is the part of the conversation that every practice owner needs to hear clearly: all three major equipment manufacturers — A-dec, Midmark, and Planmeca — have warranty provisions that can be voided by improper installation. These aren’t buried fine-print clauses. They are prominently stated in the warranty documentation that comes with every unit.
A-dec’s warranty, for example, specifies that damage or malfunction resulting from improper installation is not covered. If a chair lift cylinder fails prematurely because the base wasn’t leveled correctly during installation, that’s not a warranty repair — it’s an out-of-pocket expense. Midmark similarly excludes coverage for failures attributable to installation outside of their specifications. We’ve spoken with practice owners in New Jersey and Connecticut who discovered this the hard way when they tried to make warranty claims on equipment that had been installed by uncertified contractors.
Using certified dental equipment installation contractors like our team isn’t just about getting the job done right the day of installation. It’s about protecting a multi-year investment and ensuring that if something does go wrong, you have a clear path to warranty coverage. Our certification documentation and commissioning records give you exactly that paper trail.
wp:image {“id”:1224}
/wp:image
A-dec, Midmark, and Planmeca: System-Specific Installation Expertise
Our three manufacturer certifications aren’t interchangeable — each represents a distinct body of technical knowledge. Here’s how each system’s installation requirements differ in practice.
A-dec Systems
A-dec chairs are the gold standard for durability, and their installation reflects that engineering rigor. The modular nature of A-dec’s 300 and 500 series means there are dozens of possible configuration combinations — side delivery vs. rear delivery, cuspidor placement, monitor arm integration — and each configuration has its own assembly sequence. Our team has installed A-dec systems in practices from White Plains to Staten Island and we know which configuration choices create ergonomic advantages for specific operatory dimensions.
If you want a deeper look at how we evaluate chair selection and installation considerations, our contractor’s guide to dental chair selection and installation covers A-dec alongside other leading brands with the kind of technical detail that helps you make an informed purchasing decision before your delivery date.
Midmark Systems
Midmark’s integrated systems — particularly their UltraComfort chair with the Midmark 300 delivery unit — are designed around a tight integration between the chair base, the delivery unit, and the dental light. Installation of these systems requires precise alignment of the delivery unit mounting plate to the chair base, and the integrated electrical connections between components have to be made in a specific sequence to avoid control board errors during commissioning.
Planmeca Systems
Planmeca’s systems are the most digitally integrated of the three, and their installation complexity reflects that. The Planmeca ProOne, for instance, can integrate with Planmeca’s CBCT, intraoral camera, and practice management software through a unified digital platform. For practices building out a fully digital workflow, this integration is enormously valuable — but only if the installation is done correctly. Our experience with Planmeca digital systems connects directly to the work we do with imaging equipment, which is covered in detail in our guide to CBCT and X-ray installation for dental contractors.
Frequently Asked Questions
How long does a full operatory equipment installation take?
A single operatory installation typically takes one to two days for an experienced team, depending on the complexity of the system and the state of the utility rough-in. Multi-operatory buildouts are sequenced to minimize downtime if you’re working in an existing practice. We provide detailed project schedules before mobilization so you know exactly what to expect.
Can you work with equipment I’ve already purchased from a dealer?
Yes. We work with equipment that practices have purchased directly from authorized dealers, including Henry Schein, Patterson Dental, and Benco. We coordinate directly with your dealer’s delivery team to align installation scheduling with delivery.
Do you handle equipment installation as part of a full buildout, or just standalone installation?
Both. We perform equipment installation as a standalone service for practices that have an existing contractor managing their general construction, and we also provide equipment installation as part of our full-service dental office buildouts. The advantage of the latter is that we control the entire coordination chain — from utility rough-in to final commissioning — without handoffs between teams that can introduce errors.
What areas do you serve?
We serve dental practices throughout New York City (including the Bronx, Manhattan, Brooklyn, Queens, and Staten Island), Westchester County, Long Island (Nassau and Suffolk Counties), New Jersey, and Connecticut.
Schedule Your Equipment Installation Consultation
If you’re planning a new office, expanding your operatory count, or upgrading aging equipment in an existing practice, the time to bring in your installation contractor is before your equipment order is placed — not the week before delivery. Early involvement lets us verify your utility infrastructure, flag any rough-in corrections that need to happen before finishes go in, and coordinate your delivery window so nothing gets rushed.
GCMM Dental Construction is available to discuss your project at any stage. Call us directly at (347) 961-7357, email gary@gcmm.nyc, or visit us at 876 Kinsella St, Bronx, NY. You can also explore our full range of services at gcmmdentalconstruction.com — including our work with practices relocating existing equipment, which involves many of the same installation considerations as a new setup.
Don’t leave your equipment investment in the hands of a general contractor who has never opened a Planmeca technical manual. Work with the team that’s been trained by the manufacturers themselves — and has the installations across NYC, Westchester, Long Island, New Jersey, and Connecticut to back it up. Call (347) 961-7357 today to get started.
As a manufacturer-trained contractor with certification from A-dec, GCMM builds operatory rooms to exact equipment specifications. For broader commercial construction needs, our parent company GCMM Home Improvement provides commercial HVAC contractor. All projects follow ADA dental office design guidelines.